How to Save an Overwatered Orchid
Orchids thrive well when watered once a week during winter and 1-2 times in the spring and summer. Overwatering orchids can lead to drooping and general ill health and can kill the plant if not saved on time. So, what can you do to save an overwatered orchid?
Remove the plant from the pot and prune off any rotting roots to save the overwatered orchid. Rinse the pot and roots with a hydrogen peroxide solution to kill any fungus and then repot the orchid using a new potting mix to revive the plant. Water orchids once every 7 days to prevent overwatering.
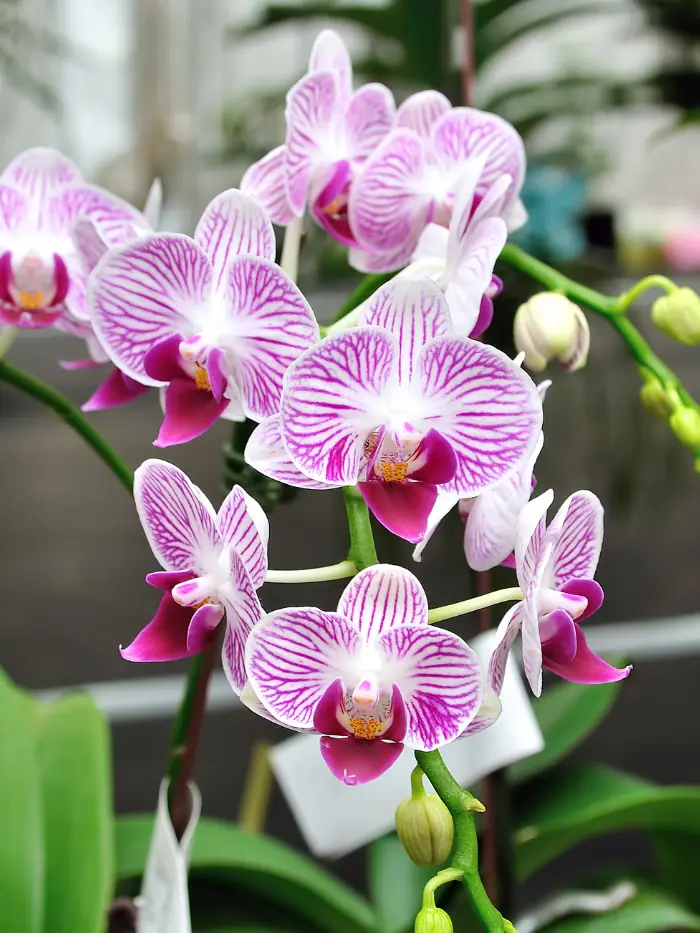
Orchids can bloom as often as twice a year if they’re happy and healthy. Soggy conditions in the pot can prevent orchids from flourishing as much as they should. The good news is that you can save and revive orchids if you spot the signs of overwatering early enough.
Signs of an overwatered orchid
Most people are often misguided into thinking that plants that are native to rainforests – such as orchids need lots of water to survive. However, this couldn’t be any further from the truth.
In their natural habitats, orchids are usually covered beneath rainforest canopies and only receive small amounts of rainwater. As such, they’ve evolved to thrive in moderate moisture conditions and tend to show visible signs of damage when overwatered. Here are some of the signs that you’re overhydrating your orchids:
Rotting roots
If you uproot an orchid and notice that it has soggy, spongy, black roots; then overwatering is the cause. As the roots can no longer absorb any more water once the orchid becomes oversaturated, the excess moisture stays in the soil for too long, causing the roots to decay.
Drooping leaves
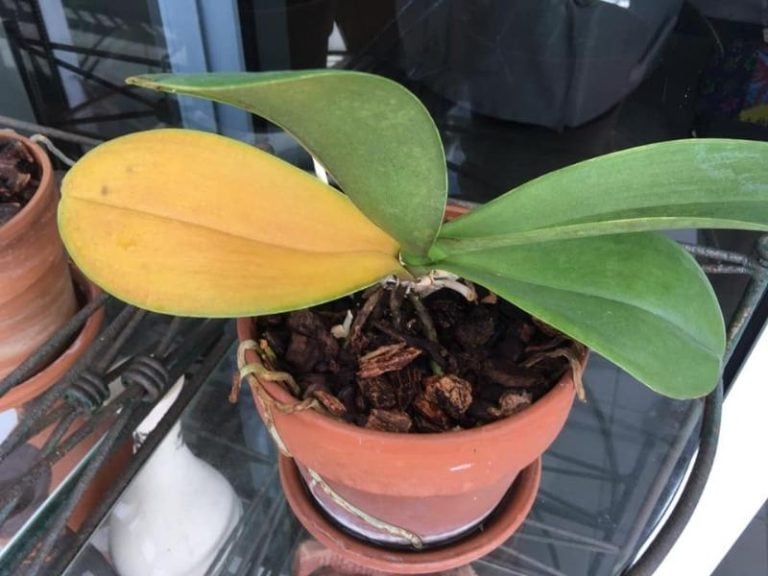
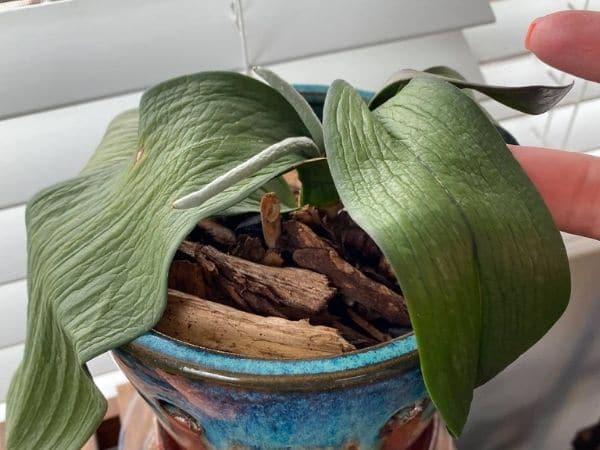
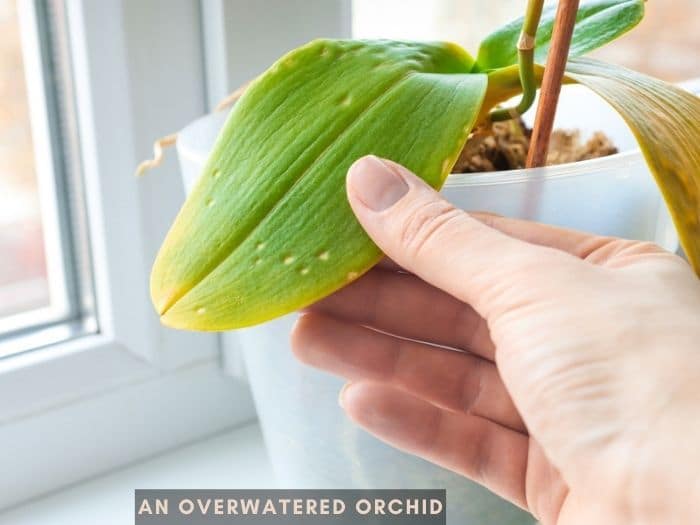
Sometimes, you’ll notice that your orchid plants have drooping leaves coupled with signs of discoloration. Such a limp leaf appearance and yellow spots on the leaves are usually a sign of suffocation in the root zone due to too much water.
In addition, overwatering may cause the leaves that occur close to the base of the orchids to rot. This is usually characterized by soggy, dark patches of tissues on the underside of these low-lying orchid leaves.
Poor overall plant health
If your orchid is showing general signs of poor health such as slow growth and a pleated appearance in new foliage, it could be because you’re feeding the plant too much water. Another strong pointer towards over-hydration in orchids is bud blast– which we’ll discuss in detail later.
Can an overwatered orchid be revived?
You can save an overwatered orchid if you notice the signs early enough. All you need to do is remove the decaying roots and repot the plant using a new potting mix. However, if the overwatering problem has been going on undetected for a while and almost all the roots have died away due to root rot, you may have to replace your dying orchid with a new one.
Keep in mind that healthy and happy orchids can last a long time and even bloom and rebloom 2-3 times a year.
How to save an overwatered orchid
You can prevent overwatering your orchid if you follow the right care routine especially with watering. If the pot is big enough (like 7 inches), you can water the orchid just once every 7 days. For smaller pots – about 4 inches – provide the plant with water every 4-6 days to keep the soil moist all the time. You might also want to allow the top 1-2 inches of soil to dry in-between waterings to prevent overwatering.
Here’s how to save and overwatered orchid:
1. Remove the orchid from its pot
Start by uprooting the orchid. If you’re growing the plant in your outdoor garden, this should be easy. Meanwhile, if your orchid is potted, gently tilt the plant and the pot to the side to allow the roots to slide out. After uprooting the orchid, dispose of the soil mix in the pot. You should also brush off any substrate still left clinging to the orchid’s roots.
2. Prune off rotten roots
Next, prune off the decaying portions of the roots using a knife or a pair of shears. You can identify rotten roots by their brown color and spongy texture. Before cutting away the rotten roots, ensure you sanitize the pruning shears using rubbing alcohol. We also recommend pruning at least 0.5-inches back into the healthy sections of the roots.
3. Clean the pot and drainage saucer
If you have a drainage saucer that sits underneath the orchid’s pot, empty it, then clean up both the saucer and the pot using a soap solution. If there’s any debris blocking drainage pathways at the bottom of the pot, you can remove it using a narrow stick. After cleaning up the pot and drainage tray, rinse them both with clean water and dry them up using a dry piece of cloth.
4. Prepare a new substrate
Instead of using regular soil for your potted orchids, we recommend going for an orchid potting bark mix. These mixes replicate the substrate in the natural rainforest habitats of orchids, facilitating excellent drainage to prevent future instances of overwatering.
If you’re low on finances, you can make your own orchid bark mix by mixing various materials that boast excellent aeration with those with good moisture-retention properties in a ratio of 5:1. For instance, if you mix five parts Douglas fir bark with one-part sphagnum moss, you’ll end up with a quick-draining bark mix that’s great for growing potted orchids in.
Before pouring the bark mix into the pot, water it mildly to moisten it, while draining away extra water through the bottom of the pot. This will prep the substrate for the next stage.
5. Repot the orchid
Pour a substantial amount of the bark mix into the pot- filling up about half of the pot. Next, place the orchid into the pot with the roots lying laterally on the surface of the moistened substrate. Then, pour some more of the moist bark mix around the roots of the orchid to anchor it. The roots should be entirely covered.
6. Water the orchid accordingly
After repotting the orchid, return the cleaned-up drainage saucer to its original position, before reinstalling the pot above it. Since the bark mix will initially be moist, avoid watering until the top two inches of the substrate is completely dry. This can take anywhere between 2-7 days depending on the temperature conditions.
Once the upper layer of the bark mix dries up, apply a substantial amount of water, while also ensuring to let excess water drain away through the underside of the pot. After that, you can stick to a generous watering schedule, only irrigating after the top two inches of the substrate dry up. Also, never forget to empty and replace the drainage saucer after every watering session.
Does overwatering cause orchid blooms to fall off?
Orchids are beloved for their ornamental and fragrant flowers. However, various factors can cause your orchid buds to fall off- one of them being overwatering. The phenomenon of orchid blossoms dying off and falling due to overwatering is known as bud blast.
However, other factors such as end of the bloom season and light and temperature conditions can also cause orchid blooms to fall off. Therefore, to be completely sure that your orchid flowers are dying and falling off due to waterlogging, check for signs of discoloration and drooping on the leaves.
Limpy and yellowing plant foliage, coupled with falling buds, is a surefire pointer towards overwatering. To prevent your orchid blooms from falling off in the future due to excessive hydration, adopt the orchid revival procedure described in the preceding section.


